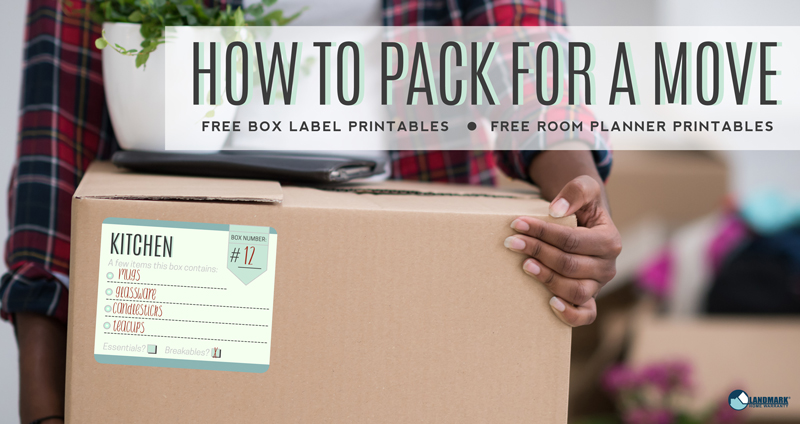
While the home shopping process is fun, actually having to move your items to their new abode is less exciting. That’s why Landmark Home Warranty created a moving checklist that you can download here, our helpful guide on how to pack for a big move, and some free box labels and room planners you can print out yourself!
Making the move as easy as possible is a great goal and the more organized you are, the easier the move will be. You’ll also spend less on movers since most charge by the hour. Here is the best way to pack for a move and make sure you’re organized.
- Get the right supplies
Making sure you have the right supplies when you start to pack is vital. You won’t waste time going back and forth to the store to purchase things you need! Time is important, and you should start as early as possible. A few things you will definitely need as you begin packing:
– boxes
– bubble wrap
– padding
– paper (newspaper works well)
– packing tape and tape dispenser
– markers
– box labels (we have some for free later in this article.)
- Go room-by-room, packing the non-essential rooms first.
Pack what you don’t need first, such as holiday decorations, crafting or camping items, and so on. You can begin packing up more non-essential items from the bathroom and bedrooms – just make sure to keep the boxes organized!
- Organize your boxes by room and label them.

You might think that you’ll be able to remember what went in what box, but by the time they’ve been moved from your old home to the new home, it will be hard to recognize each box and what was inside of it. Use our labels, or design your own, to mark each box. Make sure you include what room it is going to in your new home, the box number (by numbering boxes you make sure none get lost), and a few of the items that are inside.
- Plan your rooms out ahead of time.

Knowing which of your boxes go into each room is important if you want the movers to put them in the right place on moving day. You also want to do the same thing with your furniture, although you might not want to label it.
To make sure you’re not hemming and hawing on moving day when your movers ask you where each piece of furniture goes in the new home, make a plan beforehand!
We have provided some easily printable worksheets that walk you through laying out where you want your furniture to end up in your new home. It’s easy to use! Just follow these steps:
- Download and print the worksheets.
- Decide the measurement for each square on the graph paper. (1 ft by 1 ft, for example, is the easiest.)
- Measure and draw a map of your room. (Stick to what each square should be. So, if your room is 16 ft by 11 ft, and you are using the 1 ft by 1 ft squares, that’s 16 squares by 11 squares!) Don’t forget to measure how big the doors are to know what furniture you’ll need to break down.
- Measure furniture among its length and width. (when in doubt, round up)
- Measure + draw the furniture that you will want in that room using the same measurement. (If your dresser is three feet by 1 foot, draw a dresser in the graph paper using 3 squares by 1 square.)
- Cut out the furniture squares and place them around the room until you get a good layout you like and that fits.
- Glue or tape the “furniture” where it should go in the room and give it to your movers.
- Use clean clothes and laundry to wrap around breakables.
As you begin packing, make sure that you’re wrapping breakables with paper, or save time by wrapping clean clothes around breakables to save space. Make sure to pack plates vertically, like records.
- Use garbage bags to pack clothes, blankets, sheets, etc.
Boxes are helpful for stacking, but using garbage bags for softer non-breakable items can help provide protection between pieces of furniture during the move.
- Don’t pack air.
Don’t unload your dressers or drawers! Moving things into a box will just take up more room. Utilize the space you have and pack in your drawers, and using items you already have around your home, like suitcases, hampers, or baskets. (Just remember to label them, too!)
- Take photos of the back of the electronics.
That way, you’ll remember how different wires are connected.
- Use baggies to organize small parts.
Have baggies at the ready to tape onto bedframes, furniture, electronics, etc. that have small parts that shouldn’t be lost. (Make sure to mark what the parts go to on the bag just in case it gets separated.)
10. Pack an essentials box
Include things you’ll need as you’re getting settled in the home, and have it easily accessible. Some examples that you may want to include are:
- Tool set (for putting furniture back together)
- Toilet paper
- Paper towels
- Cleaning supplies
- Dish sponge / soap
- Paper plates / Plastic cutlery
- Shower curtain
- Toiletries
- A clean outfit
- Easy snacks or food
There you have it! That is the best way to move. Now, if you’re interested in getting a home warranty for your home, or getting deals on home services like home security, internet or television, go to Landmark Home Warranty
Not only will a home warranty with Landmark help save you money on repairs, replacements and internet and tv, it can protect your systems and appliances.


